Deploy
Setup Solr Search
Atlas uses two Solr Cores
atlas
atlas_lookups
Create the cores
solr create -c atlas
solr create -c atlas_lookups
If you’re rather use different names for the cores, it is no problem, as long as you update the core name in Atlas settings.
Deploy to IIS
Deploying with Visual Studio is the preferred method. After opening the web.sln file -
First update
web/appsettings.jsonwith the correct settings for your database and organization.In Visual Studio’s menu, click Build then Publish Web
Create a new publish profile.
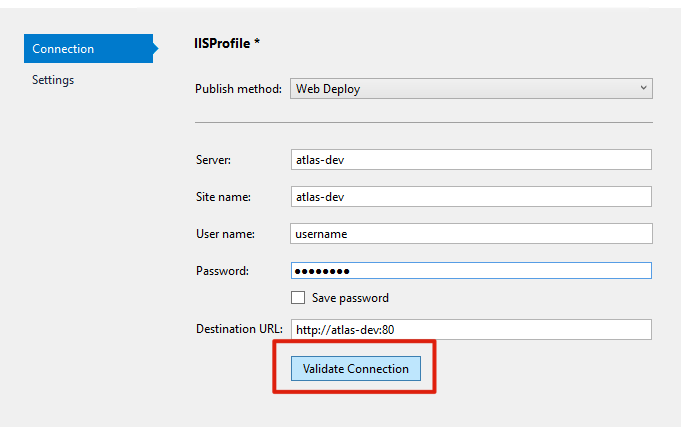
Choose Web Server (IIS) as the Target
Choose Web Deploy as the Specific target
Enter your IIS Server name
Enter your Site name. This must match the site name already created on the web server (
atlas-dev)Enter the web url in Destination URL
Optionally enter you credentials for the web server
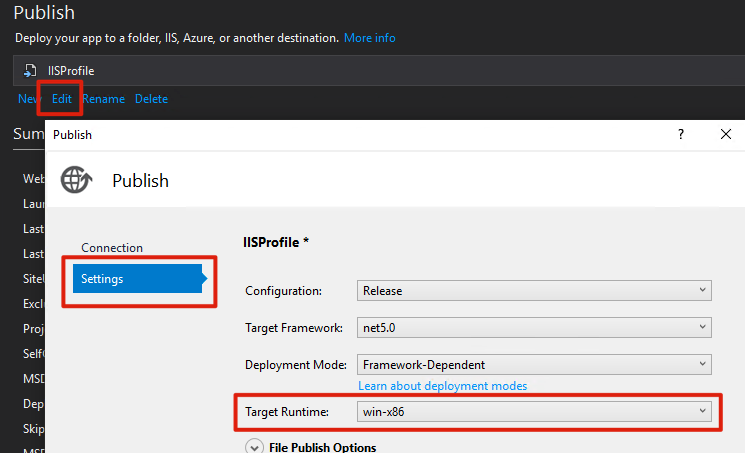
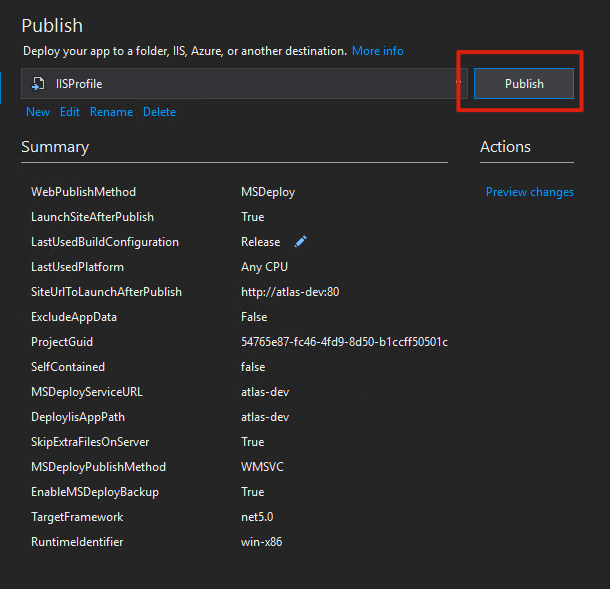
After the profile is created click Edit to change additional settings.
Change to the Settings tab and change the Target Runtime to match the web servers .NET bitness.
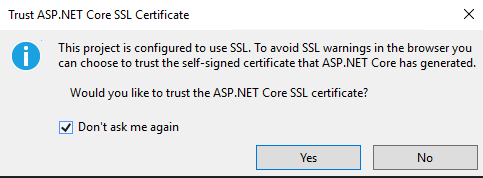
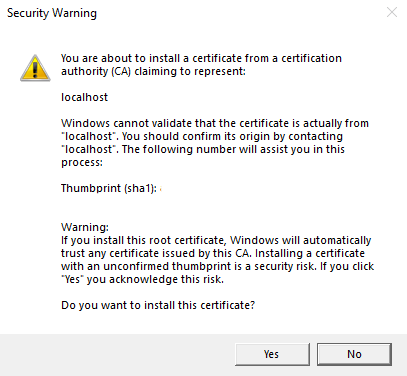
In order to successfully publish the connection must be validated to allow self-signed certificates.
Attention
The connection must be re-verified every time Visual Studio is restarted.
Finally publish Atlas by clicking Publish button.
Atlas is fairly simple to manually deploy.
First pull Atlas’s source code onto the server
Update
web/appsettings.jsonwith the correct settings for your database and organization.Run dotnet publish from the
webfolder to build the Atlas runtime.dotnet publish -r win-x86 --self-contained false -c Release -o outAttention
Ensure the bitness matches the bitness of the .NET version you’ve installed on the server!
Copy the contents of the newly created
outdirectory into thec://inetpub/wwwroot/atlas-devfolder.
Navigate to your binding and Atlas should be available!